
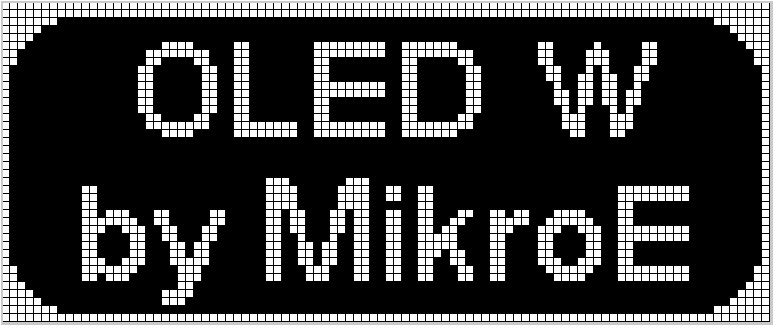
 In the OLED Click project I quickly ported the OLED driver (SSD1306) routines and packaged them with the low level SPI master drivers provided by MPLAB Code Configurator. The functionality test in itself included only displaying an image stored in an array in Flash memory. But unless you intend to use only the one image included in Mikroe examples (image above), editing the image bit by bit in a 480-bytes long array can be quite a … challenge.
This is where knowing a little bit of Python can make life much easier. In a little more than a hundred lines of code I wrote a basic OLED Picture Editor. Python scripts are great for preparing quickly small tools like this and to make them portable across all platforms (Windows, Mac, Linux).
In fact, for maximum portability, I used exclusively the tkinter ( Tk Interface) library, which has been included in the standard Python libraries (the so called batteries included) since …well ever.
Mind I did not want to create a complete image editing tool from scratch, but I wanted only a few key features:
- The ability to load an existing image array definition from a ‘.c’ file.
- The ability to make simple edits, changing a few pixels here and there for re-touches.
- The ability to save the edited image back into a ‘.c’ file properly formatted as a const array.
- Most importantly the ability to import a .gif file (color) and applying some simple filtering (thresholding rules) to obtain a suitable b/w image.
The latter is key to take advantage of existing (powerful/professional) editing tools ( Photoshop, GIMP, MS-Paint?), so that the little OLED editor can take care only of the OLED specific stuff and leave the rest to the pros.
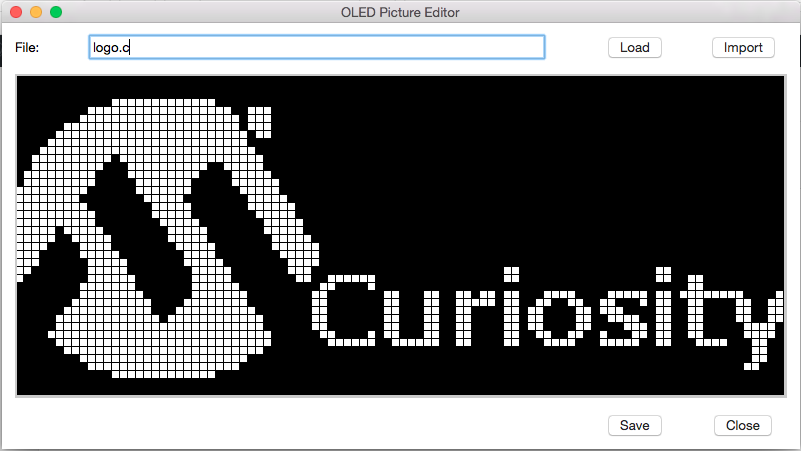
So it all boiled down to setting up a single window with seven basic widgets: a Label, an Edit field, a drawing Canvas and four Buttons.
Specific ‘actions’ were then bound to each widget: the edit field got control over the variable ‘filename’,
 self.filename = StringVar()
 self.filename.set( name)
 e = Entry( win, width=64, takefocus=YES, textvariable = self.filename)
the Canvas (graph) got control of the mouse click event (to toggle pixels):
 graph = Canvas( win, width=(wx)*sf, height=(wy)*sf, relief='flat', bd=brd, bg='gray')
 graph.grid( padx=10, row=2, columnspan=4)
 graph.bind( '<Button-1>', self.cmdToggle) # capture mouse button inside canvas
and the buttons, dispatched to their respective functions:
 Button( win, text='Load',  takefocus=YES, command=self.cmdLoad ).grid( ...)
 Button( win, text='Save',  takefocus=YES, command=self.cmdSave ).grid( ...)
 Button( win, text='Import', takefocus=YES, command=self.cmdImport ).grid( ...)
 Button( win, text='Close', takefocus=NO, command=self.cmdQuit).grid( ...)
that easy!
There was only one possible wrinkle. The import function needed to access the low level detail (pixel by pixel) of a given image, and I really wanted to avoid having to use some heavy duty graphical libraries (often platform specific or not part of standard distributions). In fact, the Tk libraries include only support for a PhotoImage element which offers real basic functionality, such as the ability to load a .gif file, but pretty much excluding every other format known to man. Most Tk documentation available online makes sure to explain that NO image manipulation options are offered (scaling, filtering, …) and NO examples of ANY low level access to the image content is ever presented. When I was almost ready to give up (and import the PIL) I eventually found one reference to a PhotoImage method called set() and an example of its use to set a single pixel. Would there be an equivalent get() method hidden in there somewhere?
Sure enough, a little experimentation revealed that PhotoImage.get( x, y) was surely there and did return in fact what looked like a tuple of the three (R, G, B) components of the selected pixel color, hurray! Except in practice it did not work! Turns out it was not a tuple, although print had made it surely look like one, but a string containing the three integer values in decimal separated by spaces.
What a perfect opportunity to try out my recently acquired itertools knowledge! I flexed my imap() and lambda muscles (?) and got my RGB tuple back in no time!
r, g, b = imap( lambda x: int(x), photo.get( x, y).split())
Now I was actually feeling proud of myself and so I went on to play with the os.path library to make the load/save/import functions a bit more file type (extensions) aware and friendly. Since I was there, I ended up adding a couple of nice warnings too (tkMessageBox).
At this point I noticed that I could have used the standard File Dialog (tkFileDialog) and with only a few more lines of code I could make it all so much nicer … then I stopped!
It was meant to be just a quick tool, and I was just having too much fun…
I left it as is, there, for you to continue develop and have fun…
Hint: Obviously the editor is already practical enough to be used to generate font files! Just choose your graphic editor of choice (GIMP), and place the entire alphabet (using the font type and size of your choice) and if you take good care of placing each letter in an exact box (multiple of 8 pixel in height), then import ….


